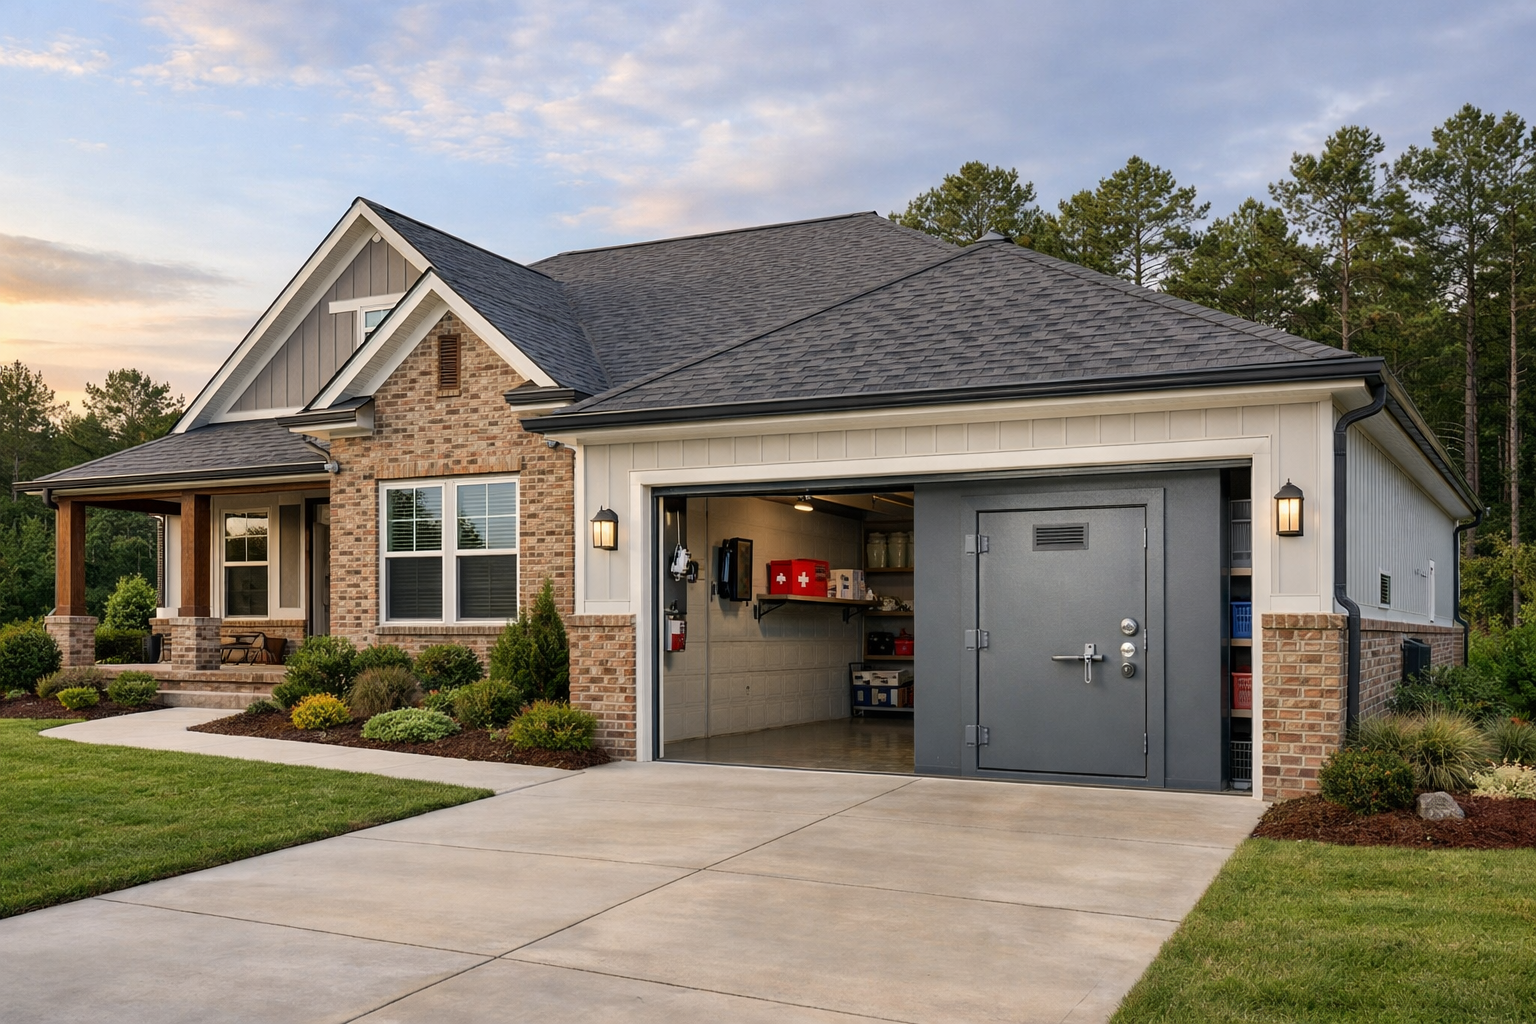
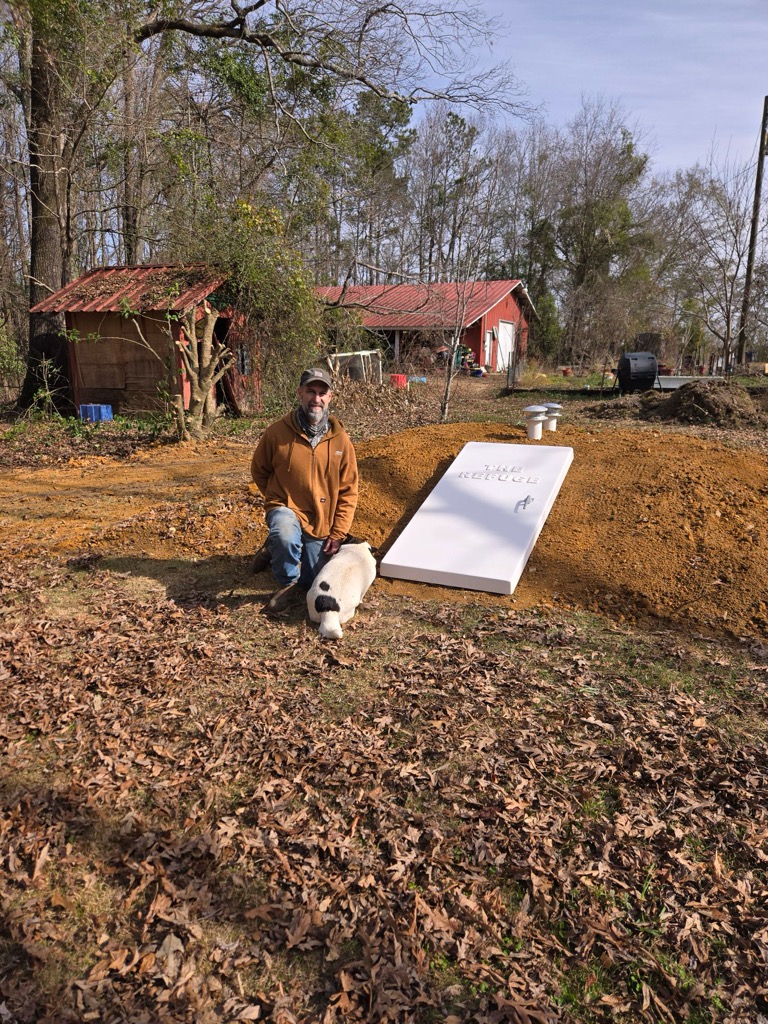
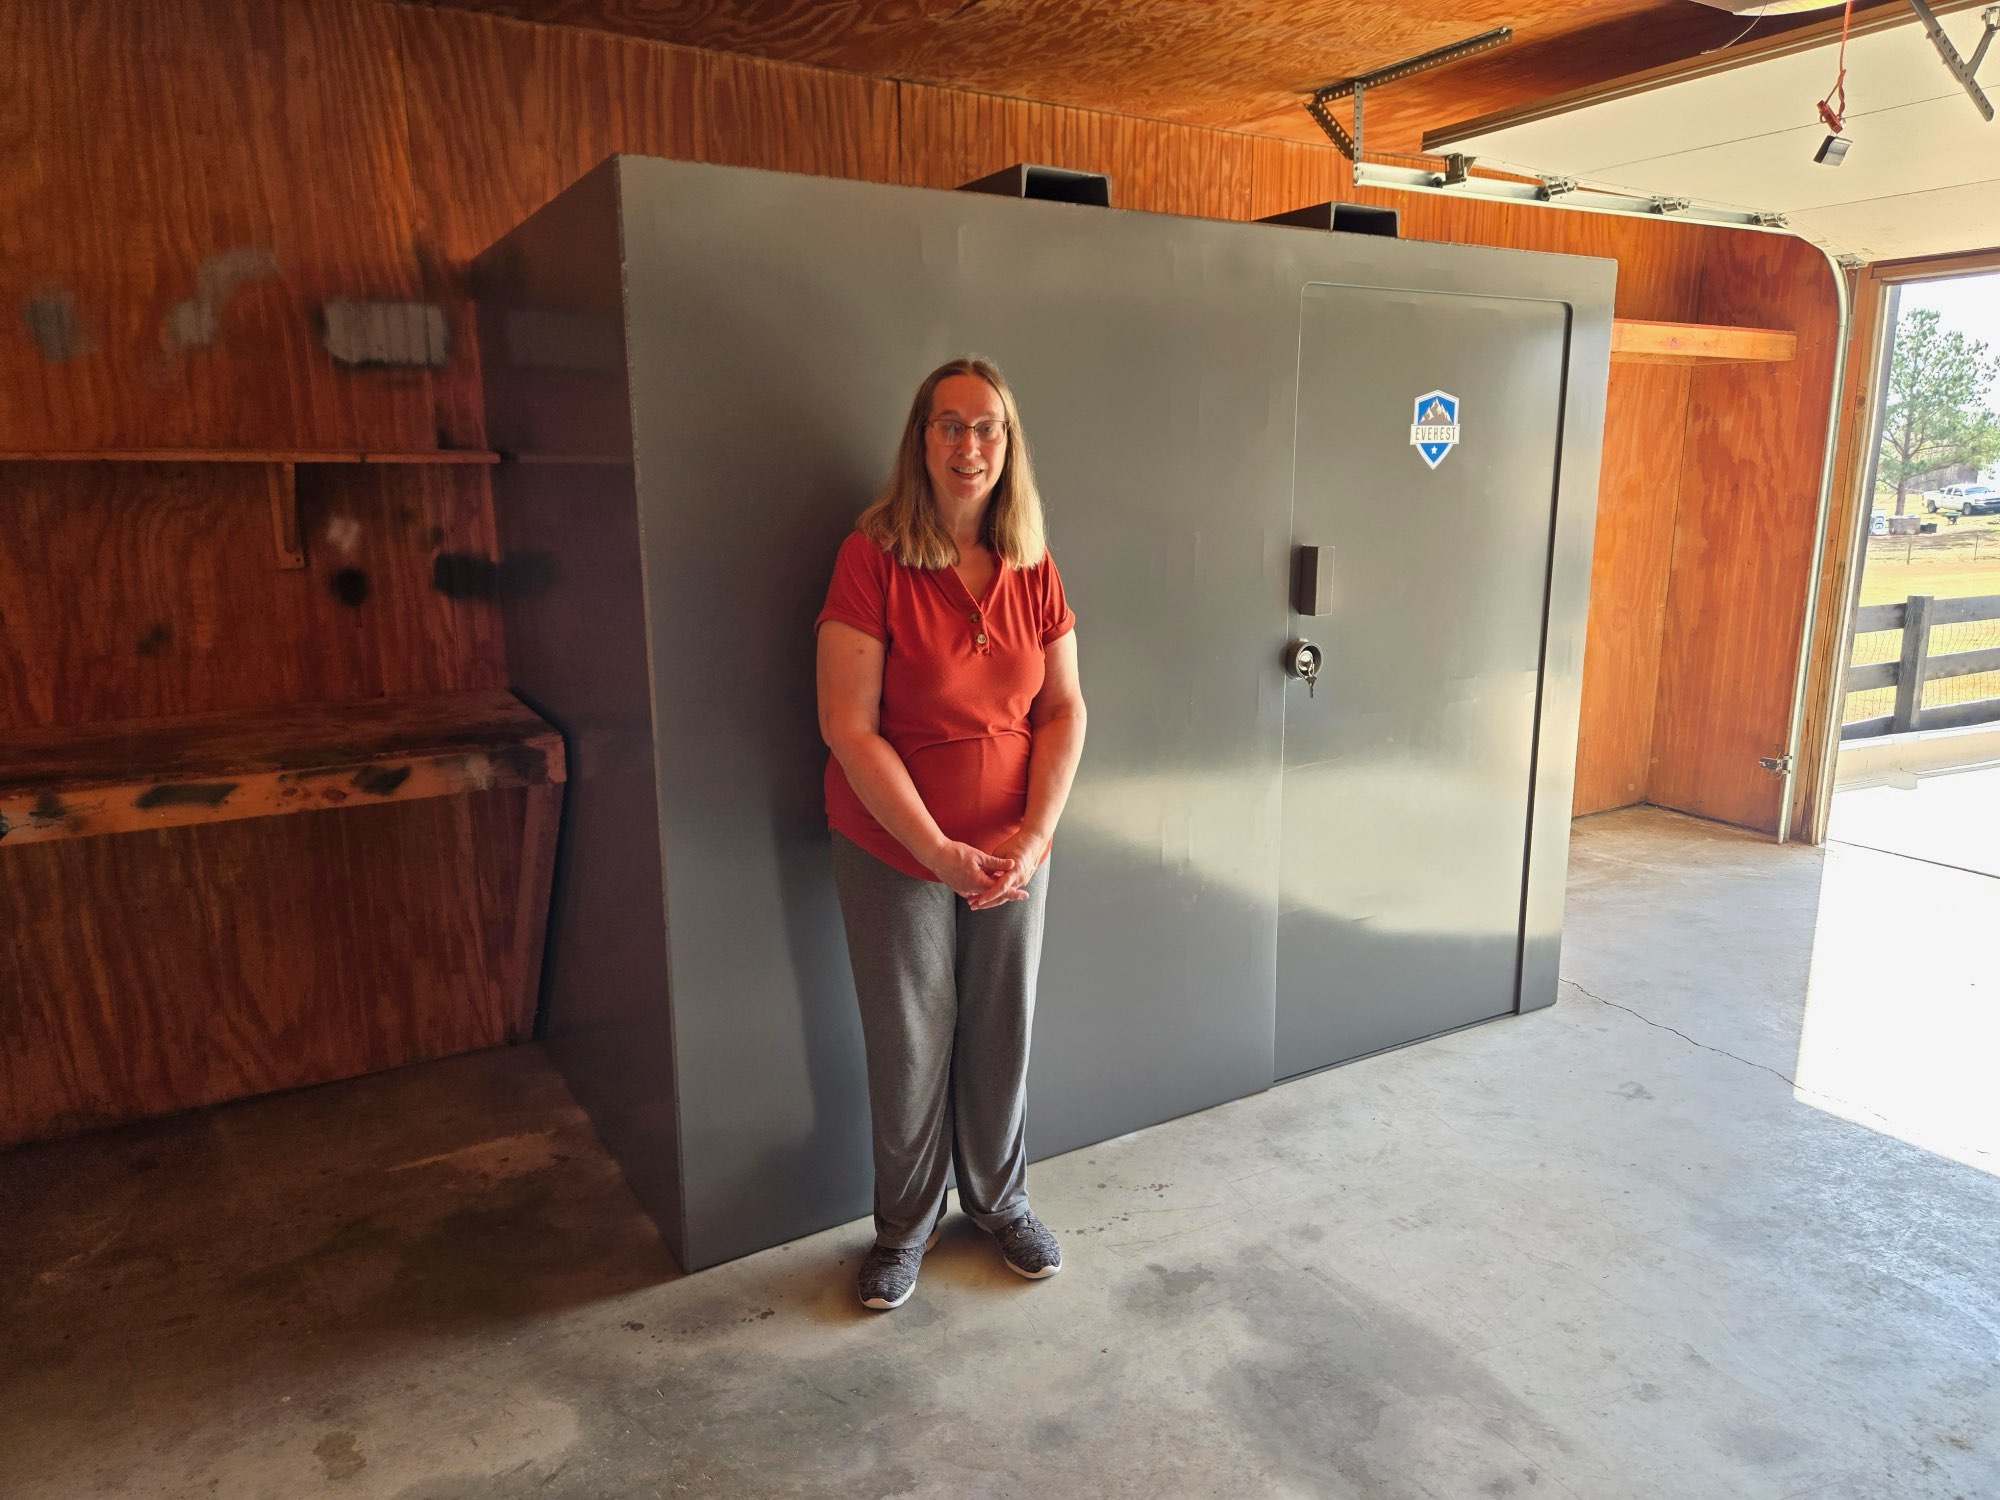
How to Convert Your Garage Storm Shelter into a Safe Room

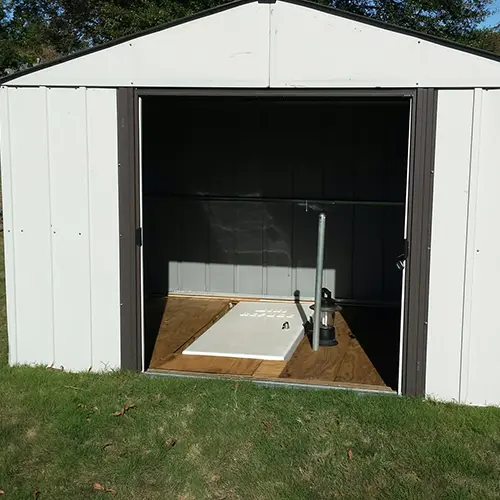
Planning Beyond the Storm
When it comes to protecting your home and loved ones, preparation isn’t just a seasonal concern—it’s a long-term investment. Many homeowners already have storm shelters in their garages, but these spaces can offer more than just emergency weather protection. With thoughtful upgrades, a garage storm shelter can be transformed into a functional safe room that provides security against intrusions, natural disasters, and unexpected emergencies.
Unlike standard storm shelters that focus primarily on tornado or hurricane safety, a converted safe room expands its role by also serving as a secure space during break-ins, extended power outages, or civil disturbances. It can act as a storage hub for emergency supplies or a retreat for vulnerable household members when danger strikes.
This added versatility makes it a valuable feature for any home, especially in areas prone to extreme weather or with limited emergency response times. This guide walks you through what it takes to convert your existing garage storm shelter into a reliable safe room—covering structural needs, costs, safety standards, common pitfalls, and maintenance tips.
What Is a Safe Room?
A safe room, also called a hardened shelter or fortified space, is a reinforced area of a home or building built to provide near-absolute protection in extreme situations. Whether it's a tornado, home invasion, or civil unrest, a properly constructed safe room can serve as a reliable sanctuary. These spaces are designed with durability and occupant safety in mind, often built to meet FEMA guidelines or ICC/NSSA standards for storm shelter safety.
Unlike standard storm shelters, which are primarily designed for weather events like tornadoes and hurricanes, safe rooms broaden their functionality. They offer a higher level of security, including resistance to burglary attempts, fire, and even debris impact.
Many include reinforced doors and walls, backup power sources, first-aid kits, communication tools such as radios or cell boosters, and dedicated ventilation systems to ensure fresh air supply in long-duration emergencies.
Some homeowners also choose to conceal their safe rooms behind bookcases or false walls for added discretion, especially in the case of home intrusions. The added features and multi-purpose design make safe rooms an increasingly attractive option for those looking to boost their home’s resilience and personal safety.
For those starting from scratch or upgrading their existing setups, Lake Martin Storm Shelters offers valuable information about storm shelter types and materials that comply with FEMA and ICC guidelines.
Step 1: Assessing Your Current Garage Shelter
Before you make any changes, take a detailed inventory of your existing shelter. Ask yourself:
- Does the structure have reinforced concrete or steel walls?
- Is it anchored to the foundation with bolts or straps?
- Are the door and lock systems tamper-proof or weather-resistant?
- Is the space dry, sealed, and mold-free?
If your garage shelter was installed professionally, you may already have a solid base to work from. But many DIY or older units may lack features necessary for safe room functionality. Engage a contractor or certified professional to assess whether the structure can meet FEMA P-361 and ICC 500 standards.
Need help with the evaluation process? You can contact Lake Martin Storm Shelters for consultation or inspection services.
Step 2: Define the Purpose of Your Safe Room
Every safe room should be tailored to its intended use. Think about who will use the space and under what circumstances.
Possible Use Cases:
- Weather Shelter: Tornadoes, hurricanes, high winds.
- Intruder Protection: Home invasions or burglary attempts.
- Emergency Storage: Backup power, water, medical supplies.
- Multi-Purpose Use: Safe haven, panic room, or supply hub.
For example, families with children or elderly members might prioritize accessibility, while homeowners in tornado-prone areas may focus more on wind resistance and structural integrity.
Knowing your priorities will help guide every other decision in the conversion process.
Step 3: Structural and Security Upgrades
Now it's time to strengthen the core. Garage storm shelters often need fortification to become truly secure.
Recommended Upgrades:
- Walls & Roof: If not already concrete-reinforced, add steel paneling or additional sheathing to increase resistance.
- Door & Lock System: Install a solid-core or steel door with multiple locking points. FEMA-rated storm doors provide extra protection against wind and intrusion.
- Ventilation: Safe rooms should include airflow systems. Look for FEMA-recommended passive vents or battery-powered systems to ensure breathable air for extended occupancy.
- Anchoring: Reinforce the shelter with bolts or brackets to the concrete slab. This reduces risks of shifting during an earthquake or severe storm.
You may also want to explore financing options for shelter improvements to spread costs across a manageable timeline.
Step 4: Choose the Right Materials and Features
Beyond the basics, it’s the small details that define the difference between a basic shelter and a fully functional safe room.
Additional Considerations:
- Insulation: Prevent temperature extremes in a garage with wall and floor insulation.
- Lighting: Install solar-powered or rechargeable LED lights. Avoid candles or anything with an open flame.
- Storage Solutions: Use vertical shelving to store non-perishable food, first aid, batteries, hygiene items, and documents.
- Communication Devices: Include a crank-powered radio, walkie-talkies, or an emergency cell phone with backup battery.
Don’t overlook comfort—while not a luxury space, being stuck in a safe room for hours (or even a day) is more manageable with seating pads, blankets, or noise-canceling headphones for kids.
Step 5: Cost Overview and Budget Planning
The cost of converting a storm shelter into a safe room depends on factors like size, existing structure, and material choices. Structural reinforcements alone can range from $1,500 to $5,000. Adding proper ventilation and lighting may cost anywhere from $300 to $1,000, while installing a secure locking door could set you back $500 to $2,000. Don't forget emergency supply storage—budget around $200 to $800 for that. Finally, labor and inspection costs typically fall between $1,000 and $3,000 or more.
A professional installation ensures safety standards are met, but handy homeowners might be able to tackle some parts of the project themselves. Just be cautious—cutting corners here could mean compromising your safety when it matters most.
Step 6: Meet FEMA and ICC Safety Standards
Your safe room conversion isn’t just about adding locks and emergency snacks. To truly protect you and your family, it must meet the proper safety codes.
Two Key Standards to Know:
- FEMA P-361: Defines structural and performance criteria for wind loads, debris impact, and ventilation.
- ICC 500: Offers code-level enforceable standards for doors, wall assemblies, accessibility, and fire safety.
Achieving compliance ensures that your safe room stands up to worst-case scenarios—and may even qualify for insurance discounts or local tax relief programs. When in doubt, consult with a provider like Lake Martin Storm Shelters that has experience with code-compliant installations.
Step 7: Plan for Power and Communication
Safe rooms are most effective when they’re self-contained—capable of functioning even if the rest of the house loses power or communication.
Power & Connectivity Tools:
- Battery Backup Packs: Keep phones and emergency lights charged.
- Hand-Crank Radio: Stay updated on weather or rescue alerts.
- Portable Generator: Not always necessary, but ideal for long-term outages.
- Offline Backup: Printed contacts, local maps, and instructions in case devices fail.
Also, consider placing the Wi-Fi router or mesh node close to the garage to ensure signal strength during a lockdown.
Step 8: Maintenance and Inspection
Converting your garage storm shelter into a safe room is only half the battle. Long-term reliability depends on regular upkeep.
Monthly/Seasonal Tasks:
- Inspect Doors & Locks: Ensure smooth operation and rust-free bolts.
- Test Communication Tools: Replace batteries and update stored contacts.
- Replace Expired Supplies: Rotate food, medicine, and water every 6 months.
- Seal Checks: Look for leaks, mold, or pests.
Create a calendar checklist so you’re never caught off-guard when it counts.
Bonus Section: Common Mistakes to Avoid
Many homeowners jump into a safe room conversion with good intentions but miss key steps that can compromise effectiveness.
Pitfalls to Watch Out For:
- Poor Ventilation: An airtight space without airflow can quickly become unsafe.
- Non-Rated Doors: A strong frame won’t help if the door is hollow or improperly secured.
- Insufficient Supplies: Many people forget basic necessities like medications or sanitation.
- Neglecting Practice: Ensure everyone in the home knows how to access and lock the safe room quickly in an emergency.
Conclusion: A Smarter, Safer Space
A safe room is more than just a physical structure—it’s a reflection of proactive thinking, foresight, and genuine care for your family’s well-being. By converting your garage storm shelter into a code-compliant, multi-use safe room, you’re not simply building walls—you’re building resilience that can stand up to a variety of threats. This transformation turns an already valuable space into a versatile refuge that adapts to changing needs over time.
From the unpredictable challenges of hurricane season to the unfortunate possibility of unexpected break-ins or civil unrest, being prepared provides not only peace of mind but also critical extra seconds that can make all the difference. These moments are often what separate safety from disaster.
The right upgrades—such as reinforced doors, emergency communication tools, and improved ventilation—paired with thoughtful planning and regular maintenance, ensure your garage shelter evolves into a dependable safe haven. This approach not only protects your loved ones today but also safeguards your home’s value and your family’s security for years to come.

